The pilot's door
Friday, 28th October, 2016
The pilot's hatch exemplifies how I occasionally use styrene in combination with metal to achieve a desired effect, in this case the top-hat and Z-section structural components of the door and some of the smaller, more detailed items that support the locking mechanism. Where parts are to be hidden beneath paint anything is possible!
The door began as a rectangle of 0.5 mm thick aluminium sheet. I simply bent the cold metal over a piece of PVC gutter pipe and then refined the shape with my fingers until it conformed exactly to the fuselage curvature. Less than five minutes’ work!
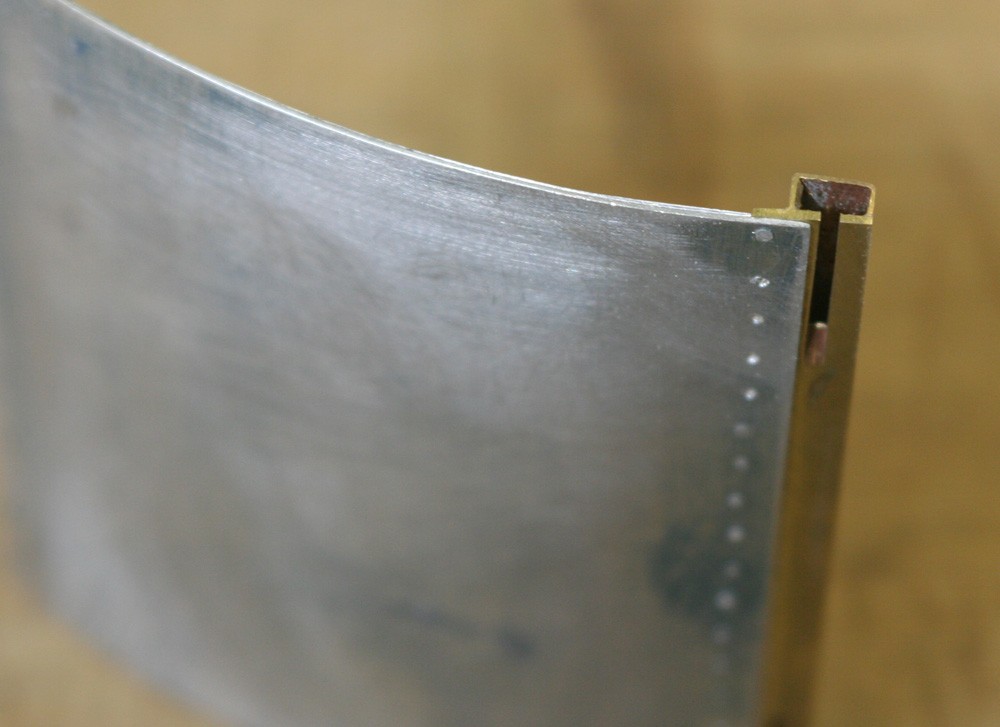
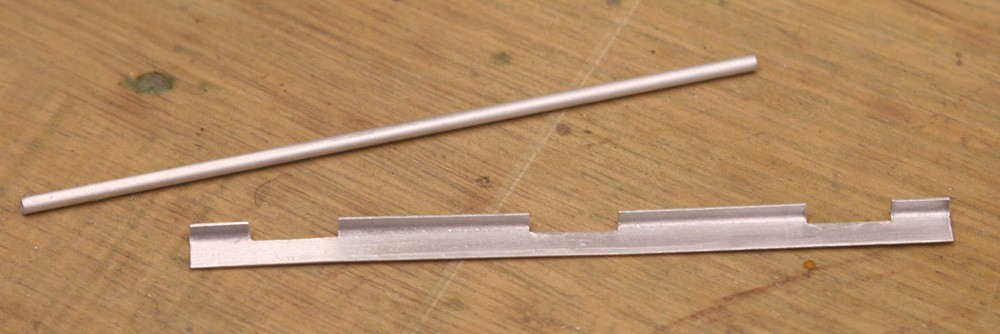
I fabricated the canopy rail from brass strip and channel section. Solder paint is ideal for delicate jobs like this. I milled the slots for the canopy runners, but only where visible at either end since the door is fitted permanently in the open position. My photographs show the finished piece secured in place with tiny 1/32 in. alloy snap head rivets.
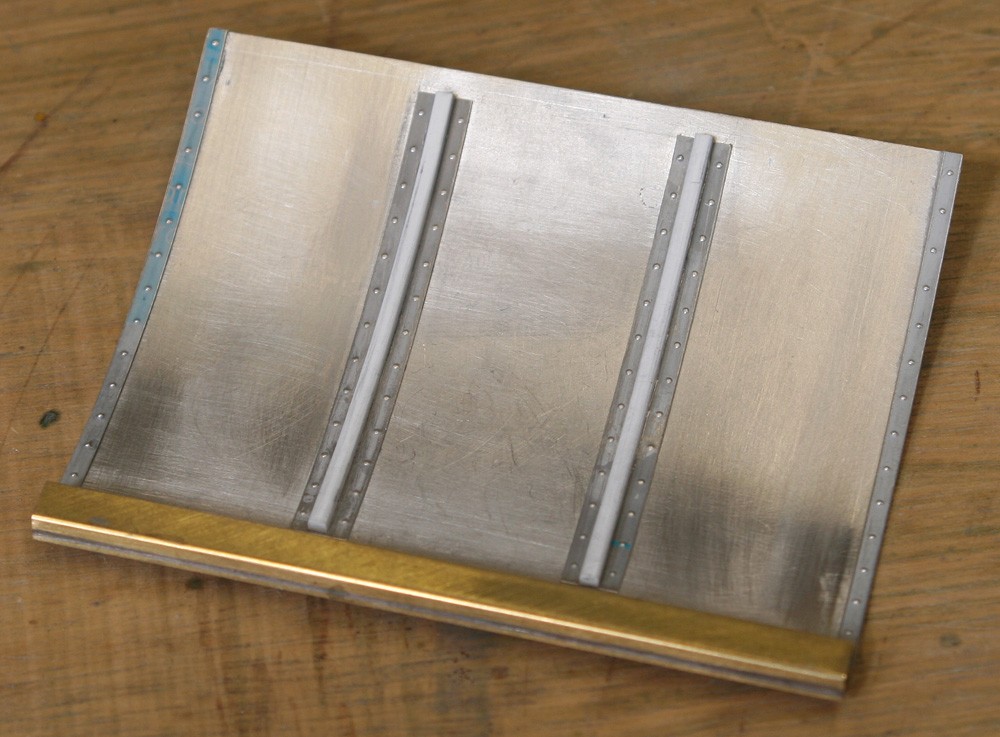
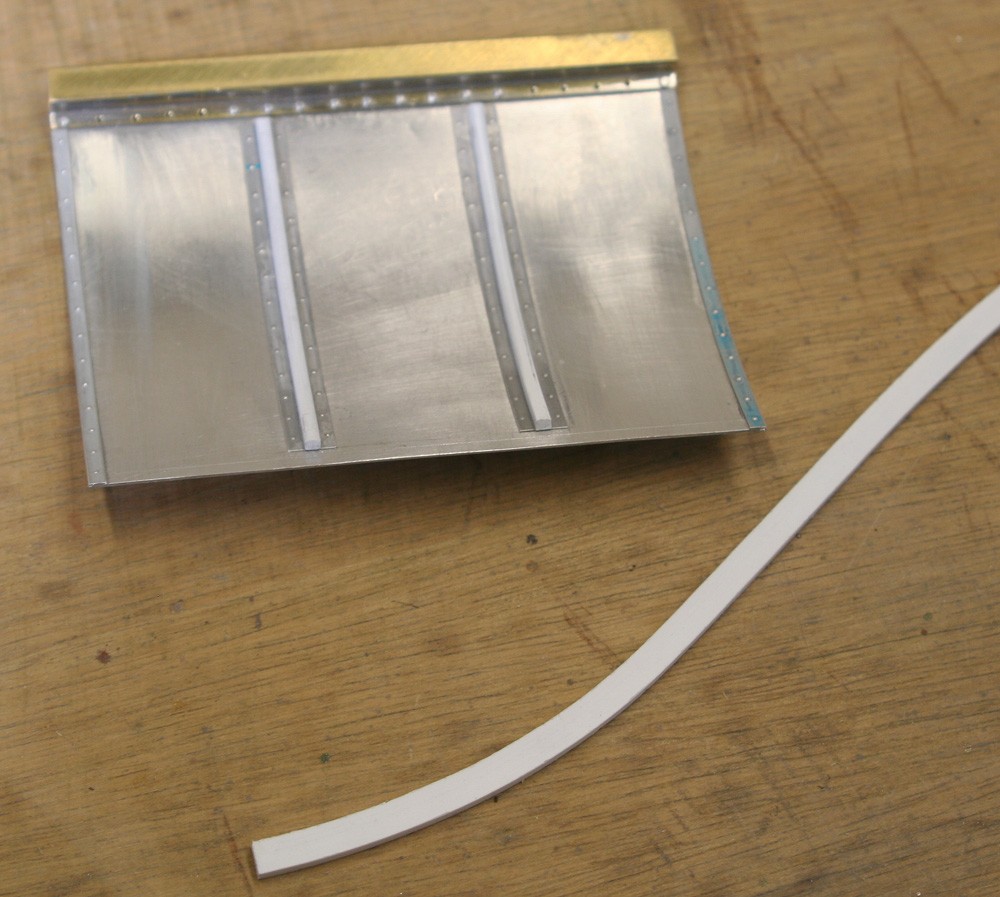
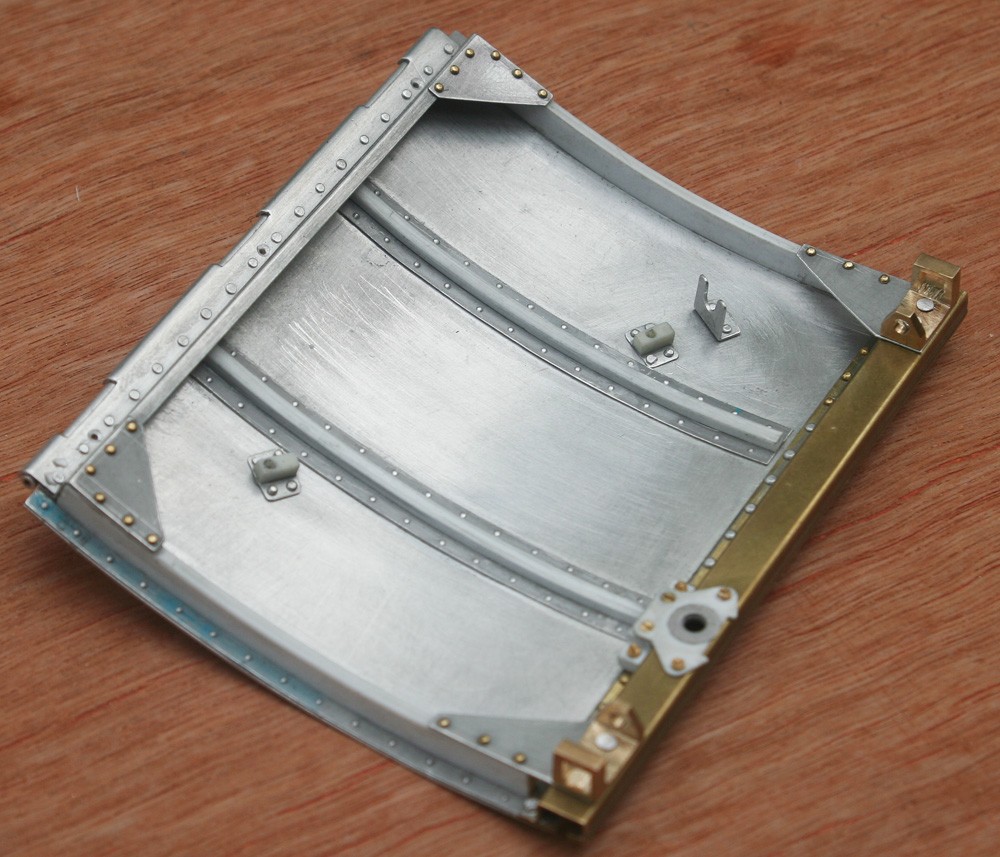
Had the door been flat, I could easily have folded my own alloy sections from litho plate, but of course it is not flat and hence my recourse to styrene strip. My pictures show the process clearly enough. Once the four side-pieces and the two central stiffeners had been completed, the four small triangular plates were cut and installed, one in each corner.
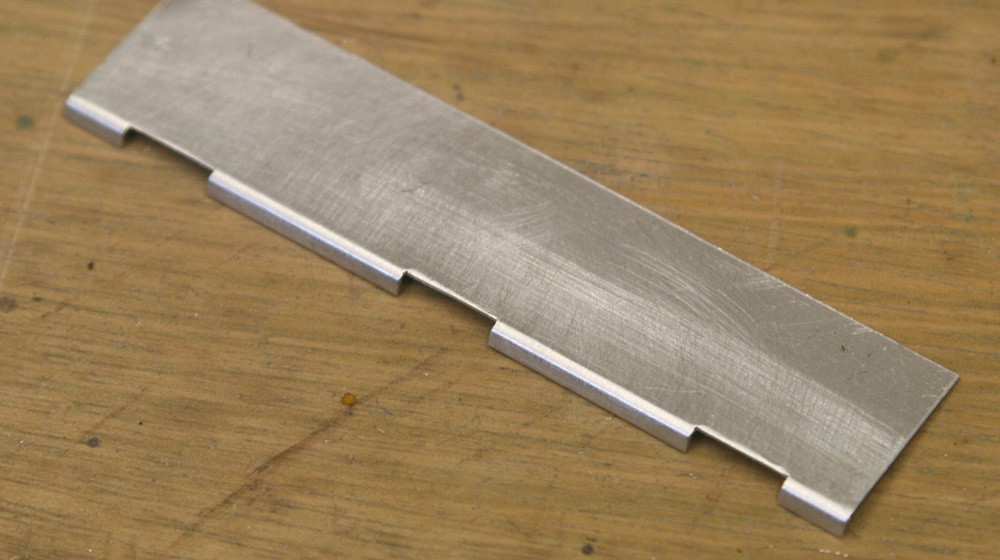
When I built my Mk I Spitfire I took the trouble to make a working hinge for the hatch. This time I decided to cut the corner with something that looks like a hinge, so for this part of the work I was guided more by photographs than by the drawings. My solution, which could hardly be easier, can be seen in the photographs. Viewed from outside the cockpit, the five tiny screws that actually hold the door to the fuselage side give the game away, but you have to look very hard to see them.
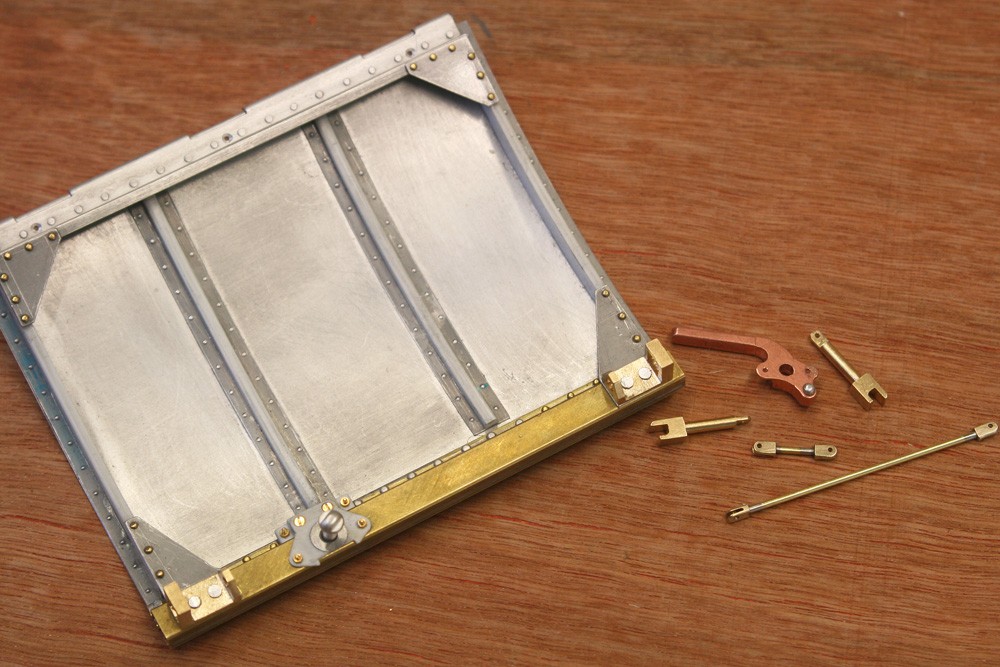
The basic door could have been built in less than a day, but the locking mechanism took longer. Notwithstanding a little simplification here and there, it is an accurate representation of the real thing. Most of the tiny parts are milled from brass, the most challenging being the door handle itself, which required a lot of additional and careful hand cutting. The minute forked couplings on the ends of the coupling rods came a close second. Each was drilled and turned in the lathe to fit onto 3/32 in. diameter brass and secured there with a dab of solder paint, after which perpendicular holes for the pins were drilled and then the slotted ends cut using a slitting saw mounted in the milling machine. Tiny 16BA brass screws and nuts hold the assembly together.
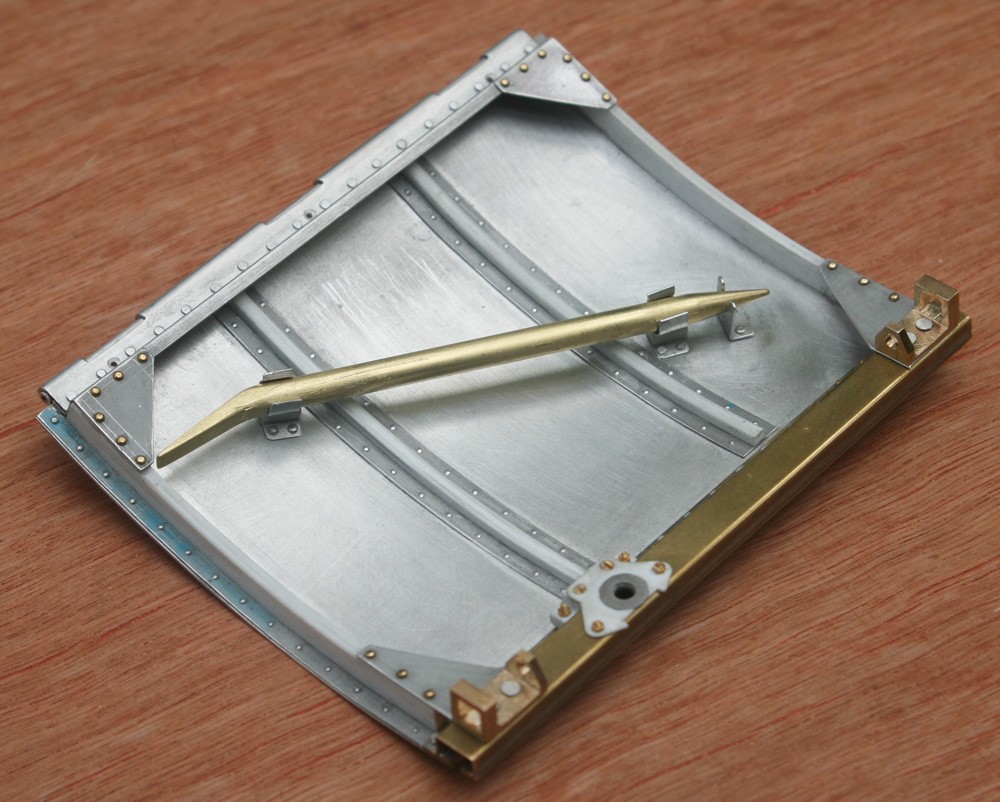
Making and fitting the crowbar was straightforward by comparison: I chucked a length of 1/8 in. diameter brass rod and turned a taper at one end. I put the required ‘set’ into the annealed opposite end and cut flats to form a wedge shape using my bench mill and a file. The paired ‘spring clips’ look realistic enough, but they are dummies made from litho plate. What actually holds the crow bar in place are two concealed brass pegs which locate into holes drilled through the ‘clips’ then on through the simplified solid mounting blocks and the sheet metal door itself.
